Just because you don’t have a juicer, doesn’t mean you can’t reap the benefits of fresh cold-pressed juice. Read my tips for how to juice fresh fruits and veggies using a blender.
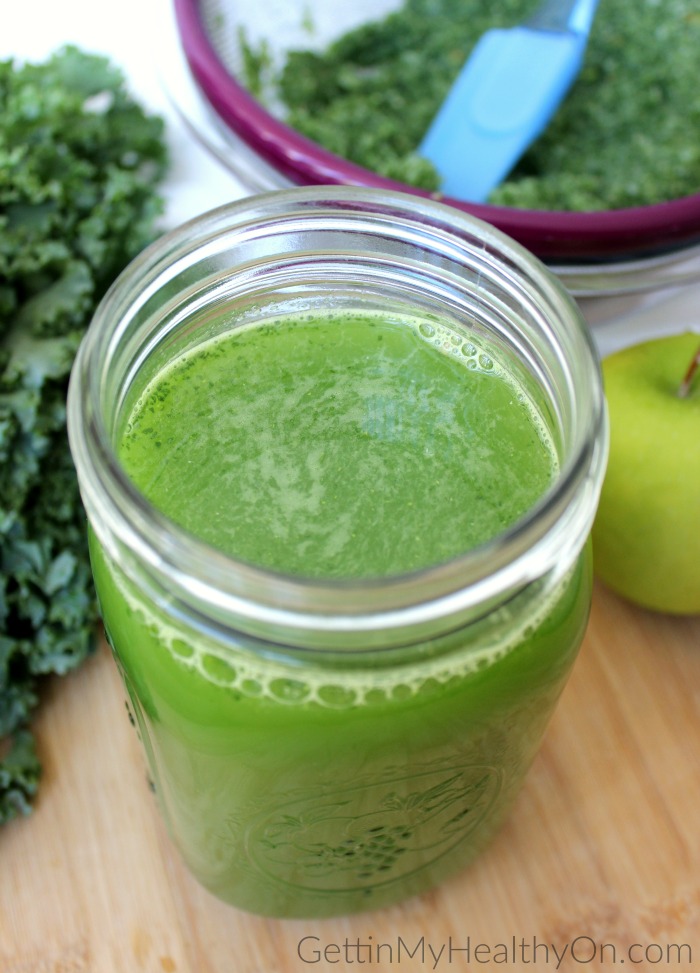
If you’ve been following my Instagram over the past couple months, you’ve probably seen me regularly start posting about juicing. Although I typically use an actual juicer that a friend lent me, I’ve noticed it doesn’t do a very good job of extracting the juice from drier ingredients like kale. Plus, some ingredients just don’t juice very well, if at all (e.g., bananas, avocado, ripe mangoes). To branch out a bit with the juice recipes I’ve been making, I decided to occasionally use my blender to make juice instead of my actual juicer.
It might seem odd at first to use a blender instead of an appliance specifically made for juicing, but I’ve actually found certain benefits to using a blender versus a juicer. For example:
- You can add stuff that normally won’t juice (avocado, banana, spirulina, etc).
- If you don’t already own a juicer, and are hesitant to buy one, it’s a great alternative.
- Depending on what you’re wanting, you can either strain the mixture to make juice or keep it as-is for a smoothie.
What you’ll need:
- High-powered blender
- The desired fruits, vegetables, and other ingredients + water
- Fine mesh strainer (cheesecloth or nut milk bag would also work)
- Large bowl
- Spatula or other tool to help separate the juice from the pulp
Preparing fruits and veggies:
- Wash your fruits and veggies.
- Remove rinds, seeds, and stems from the produce (thinner peels like on ginger and apples are fine).
- Roughly chop your ingredients to help your blender out.
How to juice without a juicer:
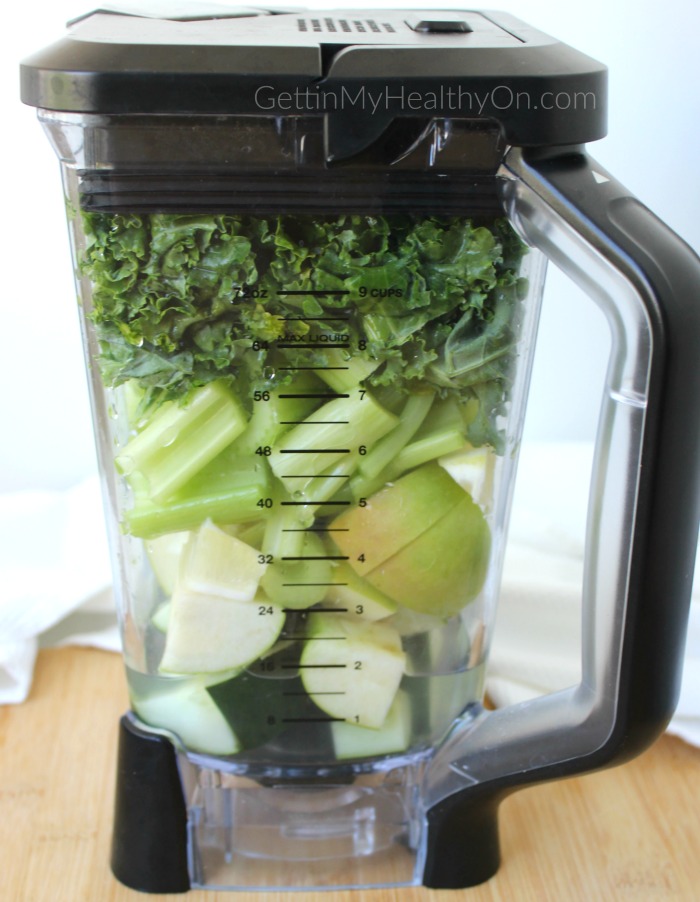
- In your blender, start layering your ingredients, putting the juicier stuff on the bottom (helps if it’s softer as well).
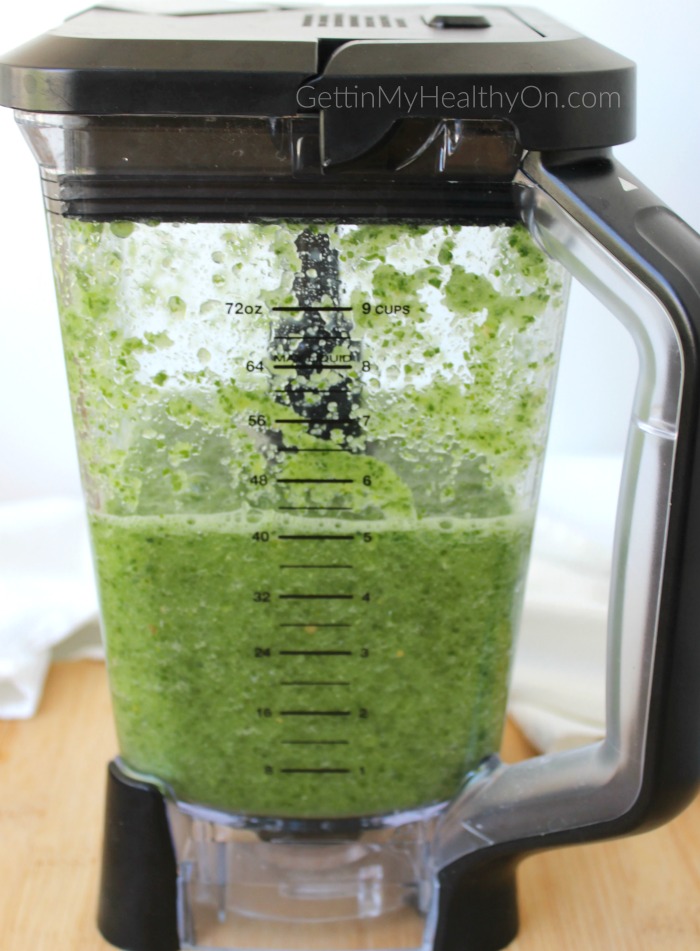
- Add enough water to get everything moving (start with 1/2 cup and keep adding more as needed). Blend until smooth.
- Place a fine mesh strainer over a large bowl. Pour the blended mixture into the strainer.
- The juice will begin to go through the strainer, leaving the pulp behind. Using a spatula, move the pulp around and gently push into the strainer to squeeze out as much juice as possible.
- Pour the separated juice into a glass to drink, and discard the dry pulp.
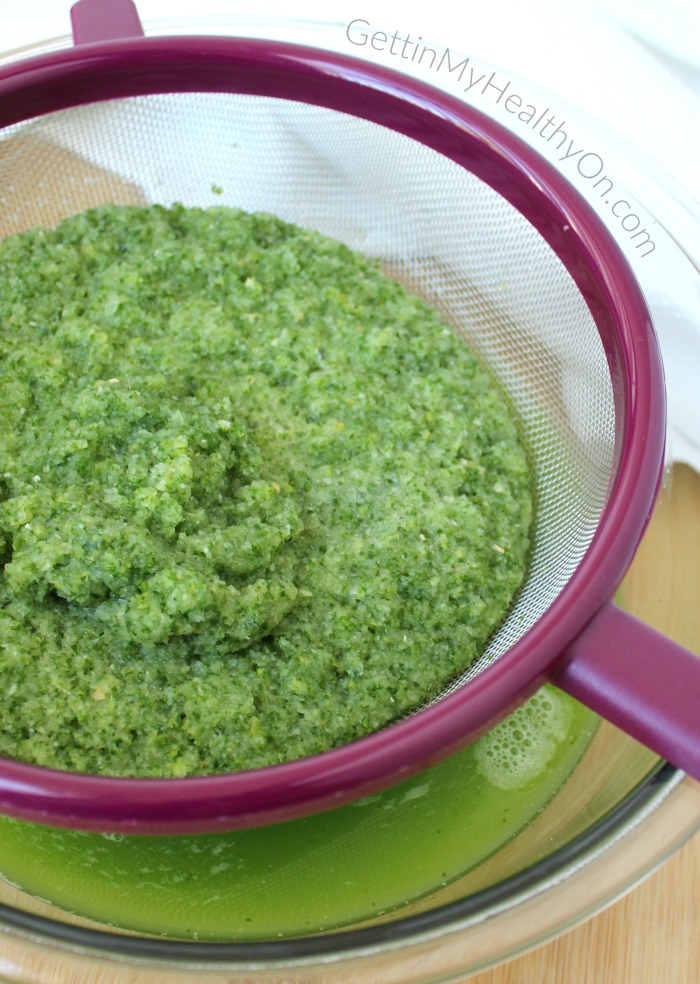
Depending on how motivated you are, it might take some time and effort to get every bit of the juice extracted from the pulp. I’m not okay with wasting any that might be left behind, though, so I think it’s worth it.
The main downsides to juicing with a blender, instead of an actual juicer, is the juice is more watered down (since you need water to get the fruits and veggies to blend), it’s a bit more labor intensive, and some of the pulp might get through. If I didn’t already have a juicer, I’d probably be fine with using the blender method of juicing. But if you’re okay with investing in a good juicer, then you do you! I definitely think using a blender is worth trying, though, if you’re not sure if a juicer is worth buying.
