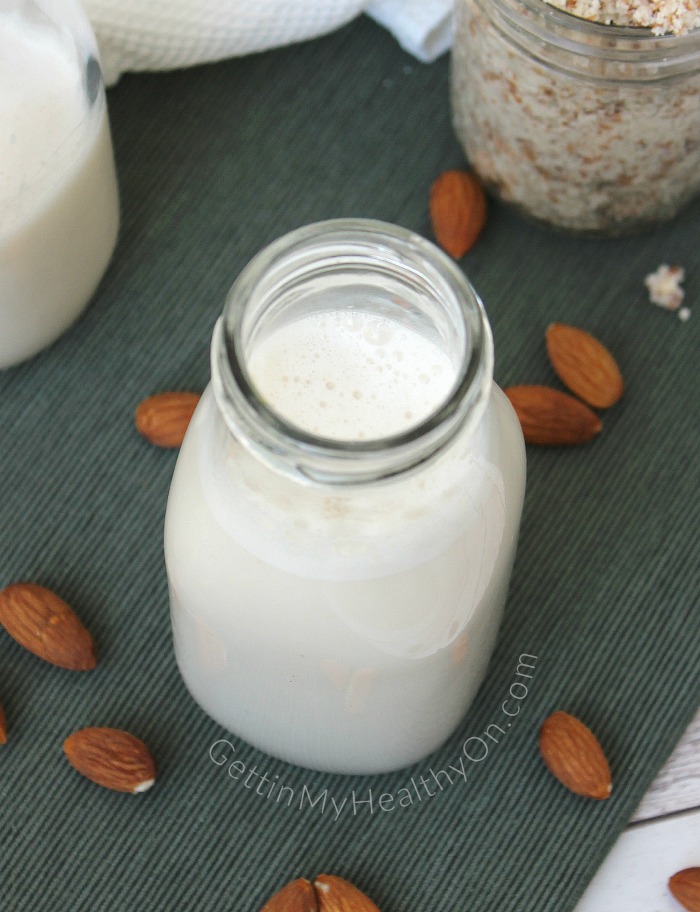
Make creamy almond milk from scratch to get a pure, nutty flavor without the additives of many store-bought brands.
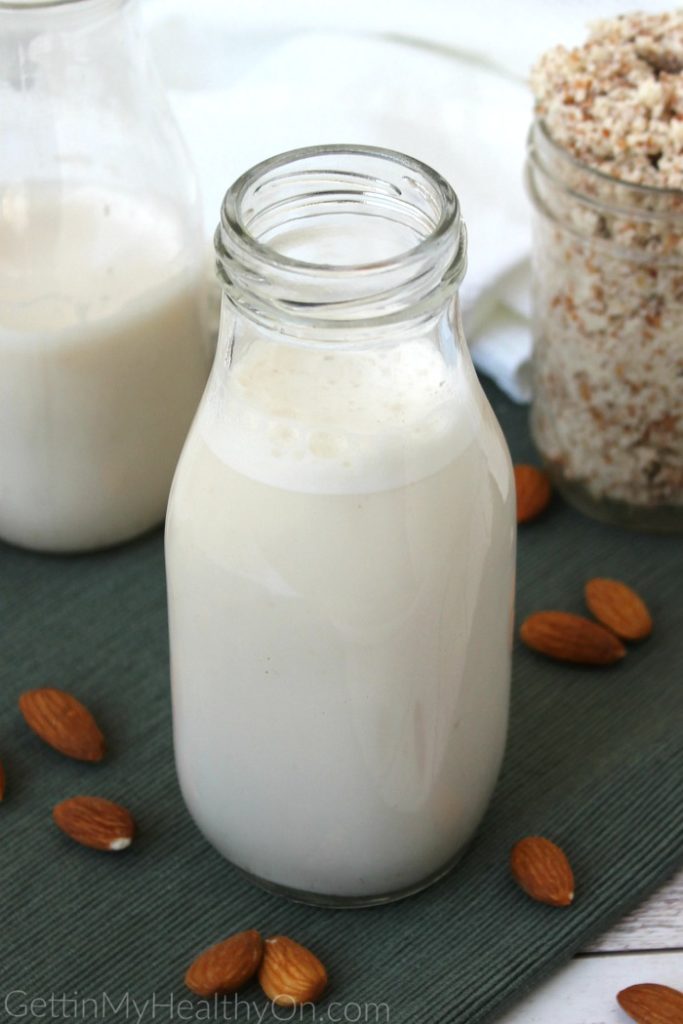
I’m not a routine almond milk drinker, but I like to use it in place of cow’s milk once in awhile because it has certain benefits over dairy (just as dairy has certain benefits over almond milk). More specifically, almond milk…
- Has fewer calories than dairy milk (1 cup almond milk has about 60 calories vs. the 130 calories in 1 cup 2% milk)
- Is full of healthy fats and vitamins
- Doesn’t have any cholesterol or saturated fat
- Is a great alternative for those who are lactose intolerant
Even though I drink almond milk (or, more so use it in foods like smoothies and oatmeal), I have nothing against cow’s milk and much prefer its taste. Cow’s milk has more calcium and protein than most other milk substitutes, so…it really depends what you’re wanting from your milk. I mostly consume cow’s milk, but it’s still nice to mix things up and incorporate almond milk into my diet once in awhile.
The first time I made homemade almond milk, I was pleasantly surprised at how unbelievably EASY it was to do. It really only takes three steps:
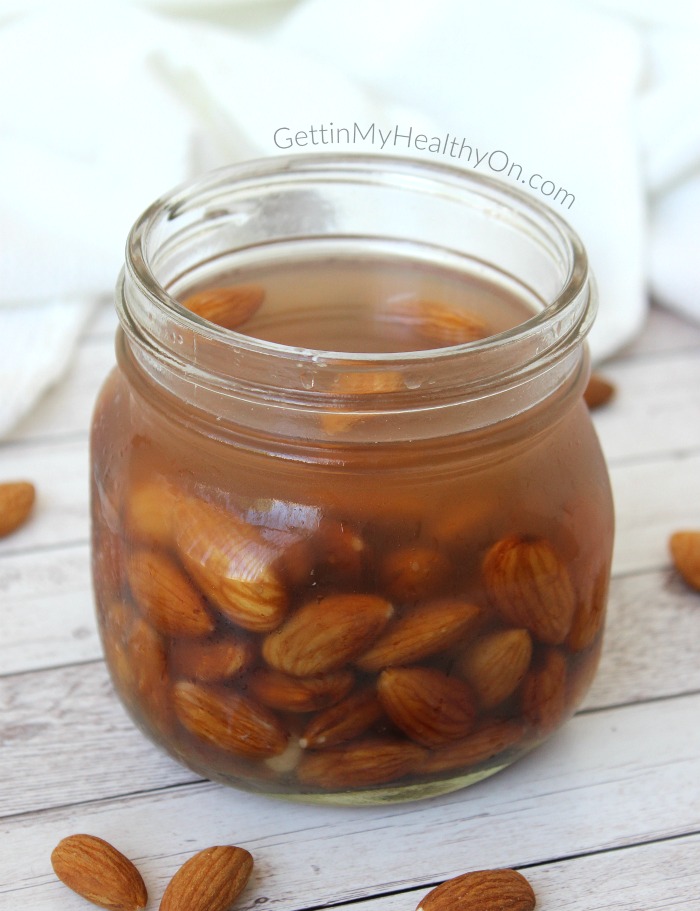
Step 1: Soak the almonds overnight.
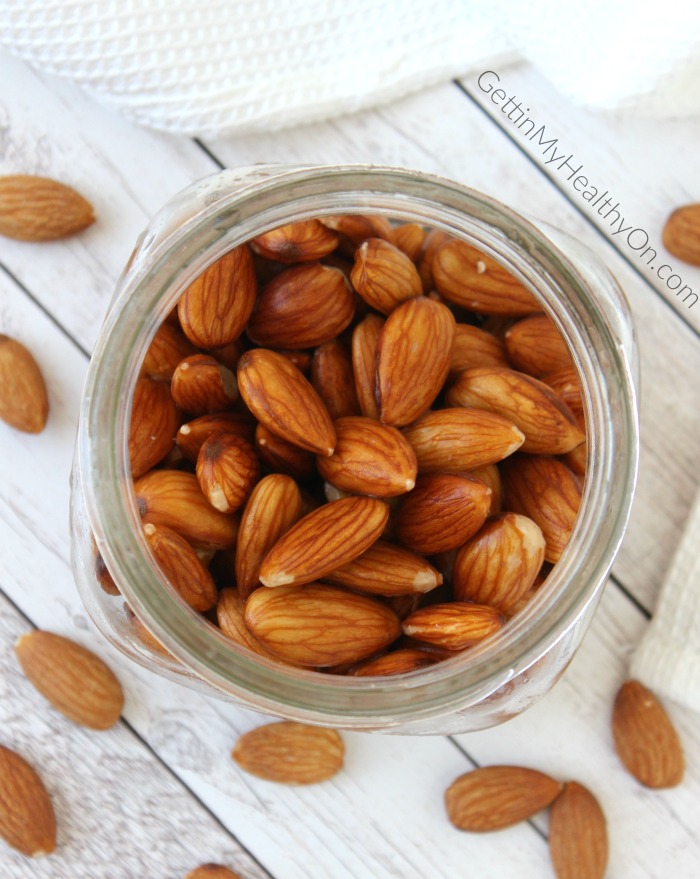
Step 2: Add the strained almonds (which will look similar to the pic below) to a blender, blending with more water.
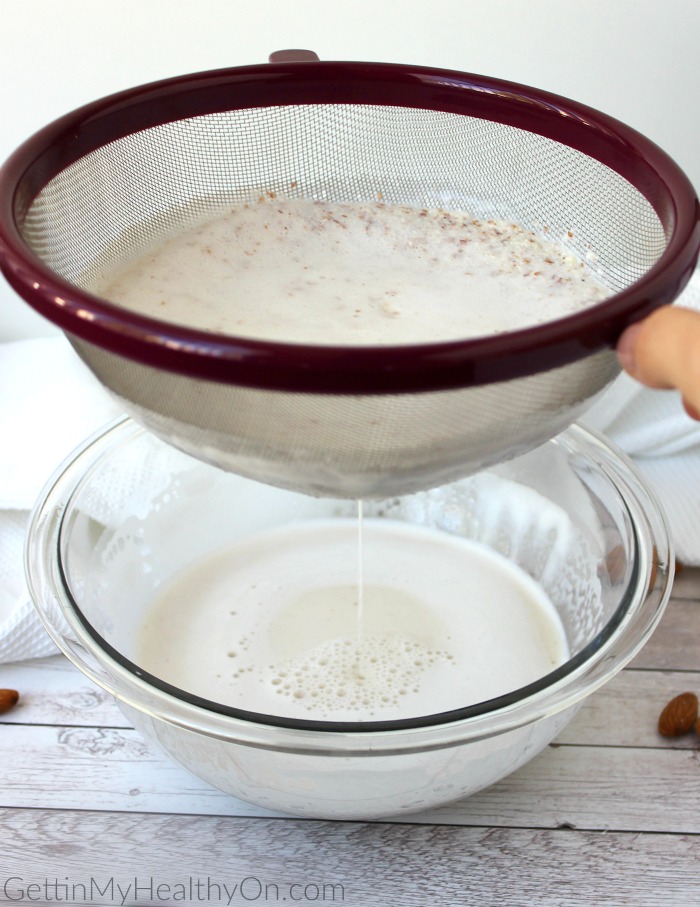
Step 3: Separate the liquid from the pulp, using either a fine mesh strainer (what I do), a nut milk bag, or cheesecloth.
Making almond milk from scratch produces so much more flavor, in my opinion. Even if you don’t regularly make it yourself, I think it’s worth trying once or twice to see the difference in flavor and texture.
The main downside to homemade almond milk is, it doesn’t keep for very long before it goes bad. You should get a good two or three days while it’s still fresh, but after that it’s on a steep decline. That’s why you don’t really want to make a huge batch of almond milk, unless you know you’ll be able to consume it in time.
Ingredients:
- 1 cup raw almonds
- 2 cups water (+ more for initial soaking)
Instructions:
- Add the almonds to a jar with enough water to completely cover them. Soak overnight.
- Strain the almonds, and add to a blender. Add the 2 cups fresh water to the blender. Blend until smooth.
- To separate the almond pulp from the milk, pour the mixture into a wire mesh strainer* over a large bowl. Let the mixture drain for a couple minutes and press with a spatula to get all the liquid out.
- Once the almond meal is as dry as possible, dispose or save for later. Store the milk in the fridge for about 2-3 days.
Notes:
*The milk can also be strained using a nut milk bag or cheesecloth.
You can either discard the leftover almond meal, or you can keep it to use in various ways later (e.g., added to oatmeal, dried to make almond flour, etc.). And if you want to make the “milk” more interesting, you can include extras like cinnamon, vanilla extract, dates, pure maple syrup, or whatever your heart desires. Just keep in mind, anything you’re adding to your almond milk will change the nutrient content (for better or worse), so especially be aware of add-ins that are high in sugar.
Also, “separation is natural.” As the homemade almond milk is stored in your fridge, any tiny pieces of pulp that got through your strainer will settle to the bottom. So you’ll want to shake/mix it before consuming.
The original version of this post was published on November 16, 2015.




Doesn’t it taste just so FRESH! Hahaha! I make my own once in awhile and I love using the almond pulp after for baking goodies!
Good call on the baked goods. I still have yet to use any of it, so I need to get on that!
I have always wondered about making this. I can’t believe it’s that simple and why I haven’t seen an recipe before. It’s amazing the things we can do in our own kitchen. I must try this!
For real! People need to know how simple this is. I think it tastes better too.
I love almond milk and I have never considered making it at home! You make it sound like something I could totally do! Pinning this so I can remember to try it asap!
Oh good!! And ya, I never realized how easy it was until I found the process online.