Way back in the day, I shared a pseudo-recipe for an ingredient I like to keep on hand: breadcrumbs. I actually very rarely use breadcrumbs in dishes because I like to use instant oats for things like meatloaf or meatballs. Sometimes, though, oats just can’t do what breadcrumbs can. I’m reviving the old recipe (that was kind of an afterthought, hanging on to the edge of an old post) because it’s super easy and practical, if you don’t want to buy a big container of breadcrumbs just to watch them go bad over time.
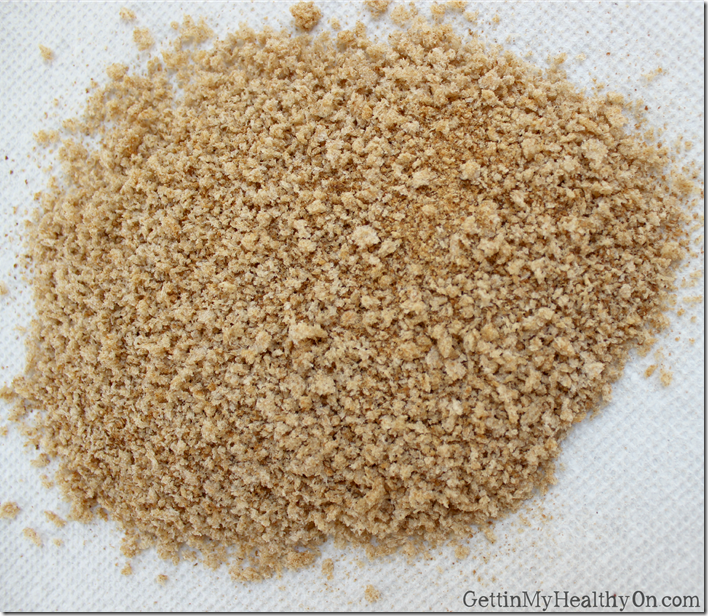
I just kind of made this up a couple years ago and have run with it ever since. Since I don’t like the heels of a loaf of bread, and I hate just throwing them out, I figured…why not repurpose them into something I will use? So into the toaster they went!
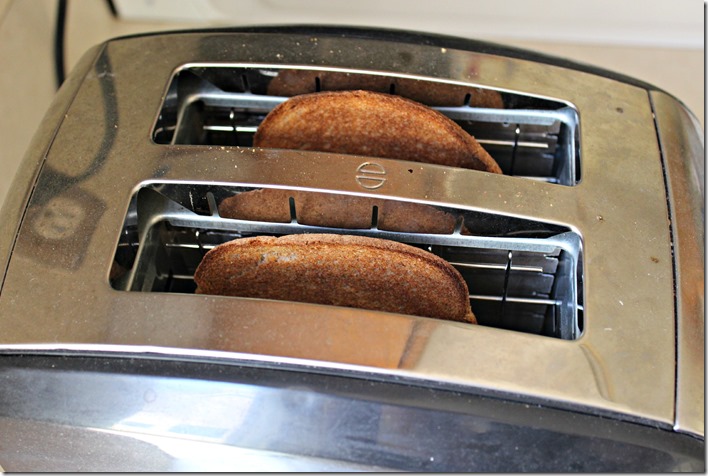
You basically just need to dry the bread out so it’ll get all crumbly. I’m too impatient to let them get stale over the course of a night or two. I also don’t feel like taking the time to put them in the oven when I need them for a recipe stat, so the toaster is a convenient alternative. I recommend toasting them most of the way, letting them cool a bit, then toasting them again. By letting them cool between toastings and again after, they get a bit more dry, which provides a finer consistency, instead of bigger crumbles like fresh bread would provide.
After you’re done making some toast, rip them into smaller pieces and throw them in a blender. This seems to work really well for me, but if you’re making several pieces of toast into breadcrumbs, you might want to consult the food processor. I usually just make these breadcrumbs on an as-needed basis, so I always just do two at a time, and the blender works beautifully.
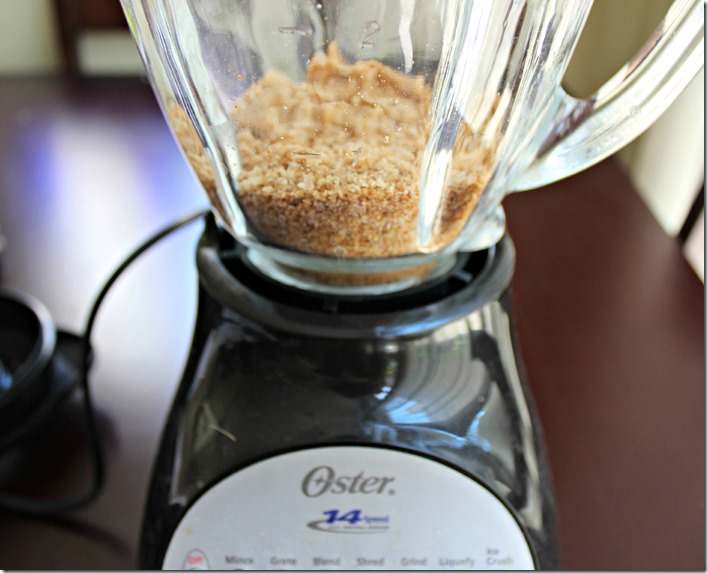
This process shouldn’t take you more than 5 or so minutes, but if you want them to be a finer consistency, feel free to leave them out so they’re exposed to the air to make them a bit more stale.
Ingredients:
- *2 heels from loaf of bread
Instructions:
- Toast bread until lightly done. Let cool part way.
- Finish toasting bread. Let cool another minute.
- Rip bread into smaller chunks and put in blender, mixing until a fine consistency.
Notes:
*I've only ever done 2, but you can make as much as you want. If you do more than 2, though, you may need to use a food processor.
I store whatever’s left of the breadcrumbs in the fridge, usually, just because I’ve usually had the loaf of bread for awhile by the time I take the ends to make crumbs, so I have mold paranoia. Just be aware of how long you’ve had the breadcrumbs, since they don’t have any additional preservatives to help keep them fresh. That’s one thing I love about this though: not only are they “free” (considering you were probably going to throw them away anyways), you know it’s just straight-up bread without any other additives (depending on what kind of bread you use).
Plus, if you want to add more flavor to them, like make them Italian breadcrumbs, you can just add the seasonings you want. I mostly use these breadcrumbs to bread chicken, but the possibilities are endless. Hope you enjoy!
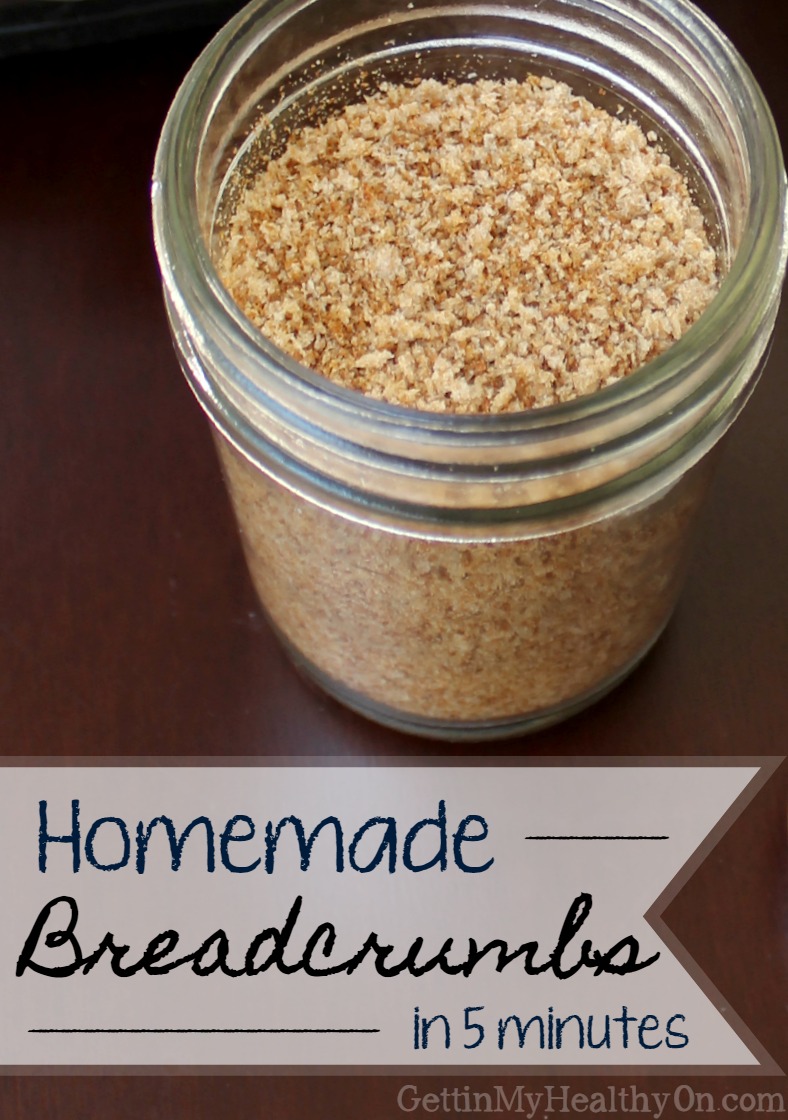



Homemade breadcrumbs are the best aren’t they? If you’d like to link up to our Meatless Monday we would love to have you
Thanks, Deborah! Checking it out now. 🙂